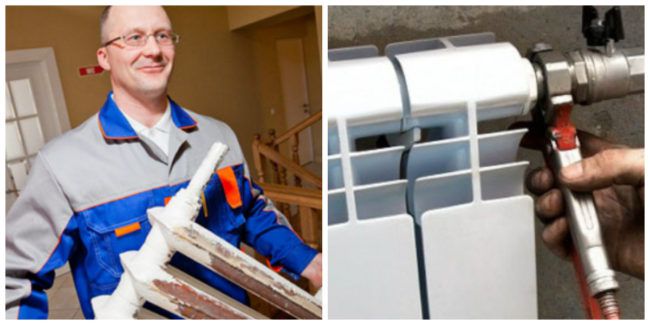
As the well-known saying goes: "Prepare the cart in winter, and the sleigh and radiators in summer." Sooner or later, everyone faces the need to change batteries, and, of course, this should be done during the non-heating season.
heating radiator installation
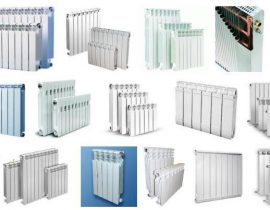
Before we proceed to the detailed step-by-step instructions for installing heating radiators with our own hands, let's dwell on the technical characteristics of the main types. After all, the installation process largely depends on the design features. Therefore, it is necessary to choose the right radiator based on the area of \u200b\u200bthe room, the operational properties of the heating system, SNiPs, norms and regulations for installation, etc.
Content
- Types of radiators:
- Calculation of the required number of sections
- Where will we place?
- Installation features: we determine the wiring system
- Step-by-step instructions for installing cast iron batteries in an apartment
- Do-it-yourself installation of a cast-iron radiator - video of the process from A to Z
Types of radiators:
- Cast iron.
- Steel.
- Aluminum.
- Bimetallic.
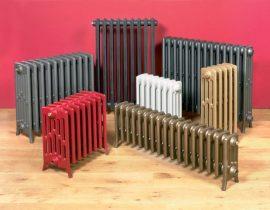
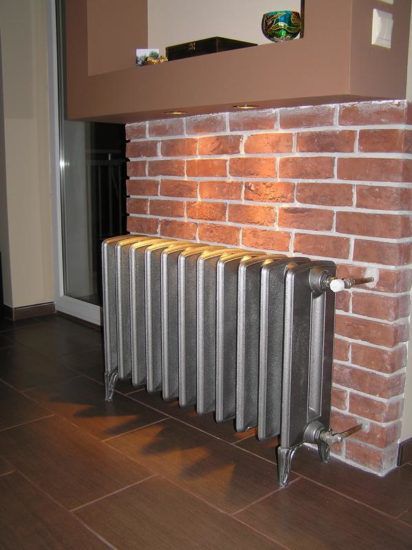
Cast iron radiators
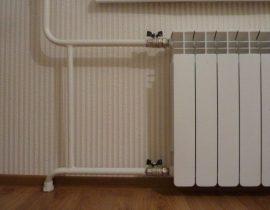
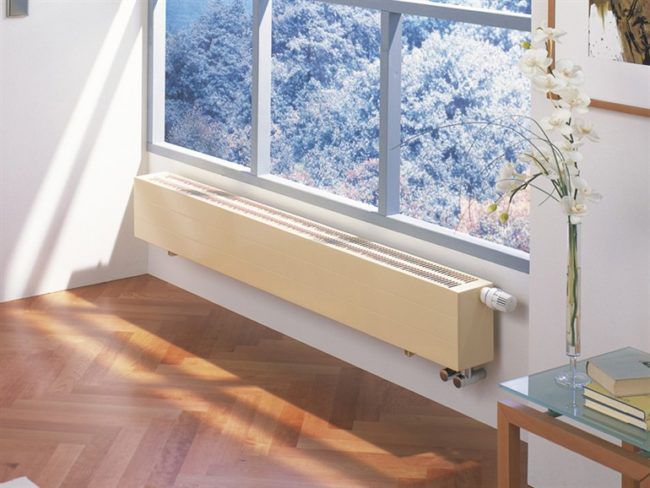
Heating radiator installed in the apartment
Cast iron radiators are perhaps the real "long-livers" on the market. A few decades ago, such batteries were in almost every house and apartment.But even today, despite technological progress and the emergence of newer modern radiators, cast iron products are very popular among our compatriots. Why are they so good?
It should be immediately noted that today these heating systems have been significantly modified and technically improved. Therefore, speaking about the advantages and disadvantages, we will focus on those radiators that are currently on the market. One of the main advantages of such batteries is their long service life. Manufacturers give a guarantee of at least 50 years, but with proper care, this period can be doubled or even tripled. Of course, during this time, the aesthetic appearance of the heating radiator may become morally obsolete, but there is a purely technical possibility of operation for such a long time!
Due to the massiveness and high heat capacity of cast iron, these radiators are able to maintain a high temperature for a long time after the coolant is turned off. They are quite resistant to pressure drops and aggressive environments. But due to its massiveness and heavy weight, the installation of cast iron batteries is a rather lengthy and laborious process. In addition, they are not too distinguished by their beautiful appearance, unless, of course, the cast-iron construction is the “highlight” of the interior style concept.
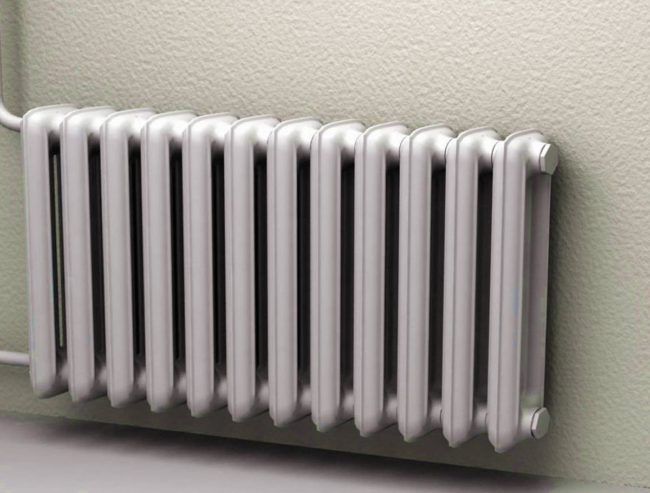
Steel radiators
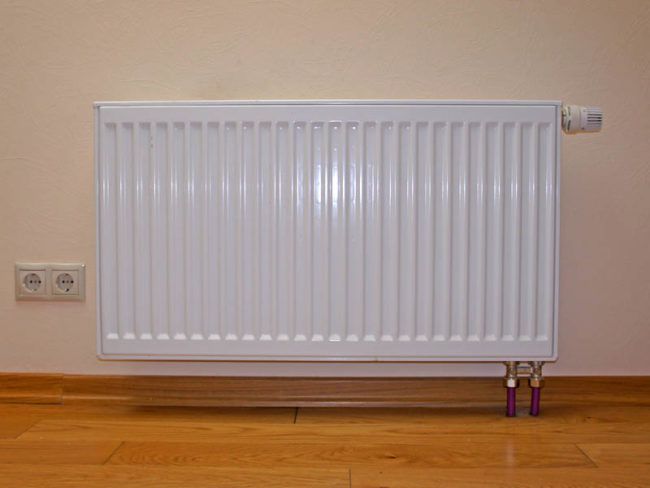
Steel radiator in the apartment - photo
These products belong to a new generation of batteries and are of two types: panel tubular.
Steel radiators are characterized by high heat transfer, increased energy saving, high efficiency. The design consists of two steel plates connected by welding.These products are produced with two types of connection: side and bottom. The choice depends on the initial location of the heating circuit. Their high popularity in the market determines their light weight, ease of installation and attractive appearance. When buying, be sure to carefully study the coating, as this affects further operation.
Tubular radiators are a structure consisting of several sections fastened together by welding. Depending on the area of the room and the heating effect, it is necessary to calculate the power of the finished module and choose the optimal size. Tubular steel batteries are characterized by excellent heat dissipation, a high level of performance and low price.
One of the advantages of these radiators is also their main disadvantage, if you turn off the heating system - steel radiators lose their heat very quickly and vice versa "help" the ambient temperature to cool the temperature of the liquid in the system. If cast-iron radiators are warm for a few more hours, then their steel counterparts will become cold in 15-20 minutes.
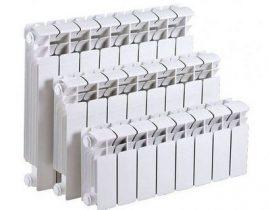
Aluminum radiators
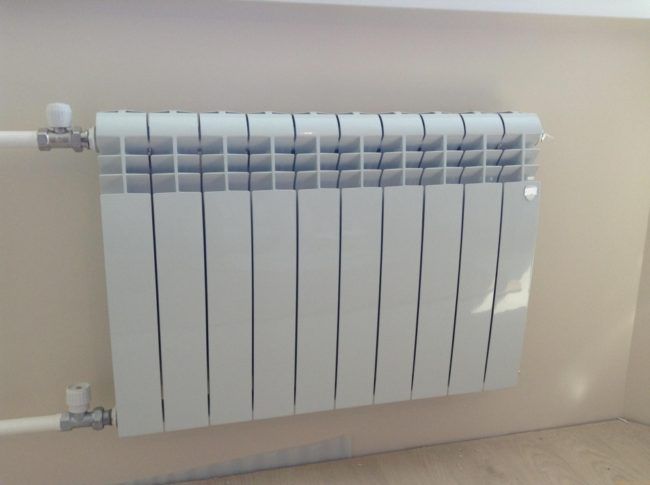
Aluminum battery for 10 sections
Made from aluminum alloy and powder coated. Due to the high heat dissipation capacity, such batteries heat the room quickly and efficiently. Smooth, aesthetically pleasing and lightweight. They are very popular on the market today, but they also have a number of disadvantages.
The connection of individual sections is carried out using the coupling threaded method, which allows you to quickly install the battery.The high tightness of aluminum batteries is achieved through the casting method. Each section is cast in a separate mold, after which it is combined into one common structure.
Due to the chemical properties of the metal, aluminum radiators are not able to withstand the high pressure that is often created in central heating systems. Therefore, for installation in an apartment with a central heating system, it is better not to use these thin batteries. They are more suitable for a private house with a self-adjustable level of water pressure in the system.
Bimetal radiators
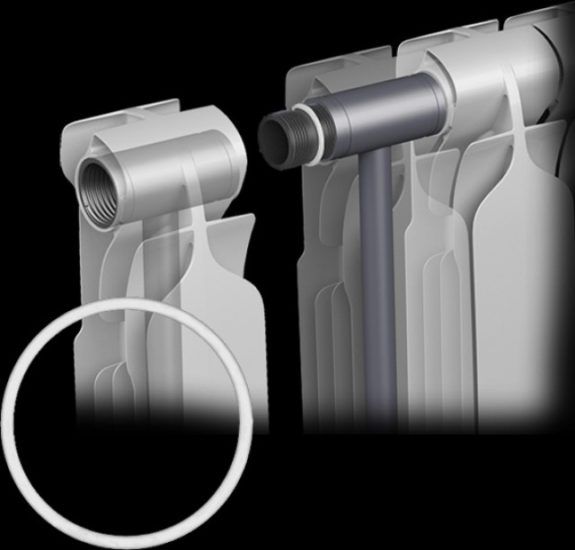
Bimetallic radiator device
These products today occupy one of the leading positions in the market. Made from high quality alloys, they feature a dual construction. The outer layer of the panel is made of aluminum, which provides lightness, great appearance and high heat dissipation. And the core of the structure is made of an alloy of metals resistant to corrosion and high pressure drops.
Thus, bimetallic batteries combine the best technical solutions from steel and aluminum radiators. The only drawback of these products is their high cost, which, however, is justified by the duration of operation and an excellent energy-saving factor.
High technical properties and attractive appearance make it possible to use them as an easily controlled and efficient heating system for an apartment.
Another indisputable advantage is the ability to independently determine the number of sections.Based on your needs, the area of the room and the required volume of heated air, you can personally assemble a radiator consisting of at least three, at least thirty-three sections, which, of course, is not available when choosing cast iron or aluminum counterparts.
Calculation of the required number of sections
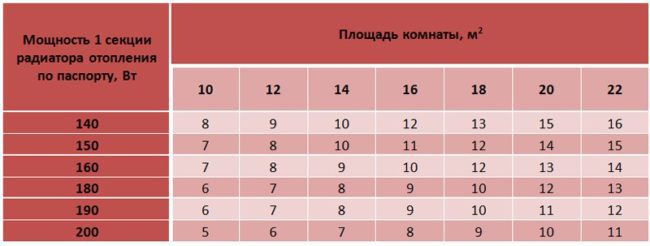
Table for calculating the number of battery sections.
After you have decided on the choice of a radiator, you need to correctly calculate its size. After all, even the most efficient radiator will not provide heat in the room if its size is not able to heat the room.
The base value for calculating the size of the radiator and the number of sections is the area of the room. We offer a simplified (household) option for calculating the number of radiator sections.
As a standard, to provide the necessary heat in the room, 100 W per 1 square meter of area is enough. In a simple mathematical way, we calculate:
Q=S*100, where:
Q is the required heat transfer of the radiator.
S is the area of the room.
This formula will tell you what radiator power to take for heating a room if the radiator is a one-piece, non-separable structure. If its scheme involves the build-up of additional sections, then we add one more parameter to these calculations:
N=Q/Qus
N is the required number of radiator sections.
Qus - specific thermal power of one section.
To correctly make calculations, higher technical education is not required. It is enough to pick up a tape measure and measure the area of \u200b\u200bthe room.
Please note that this formula is suitable for a standard apartment with a ceiling height of 2.7 meters, if your ceiling height is much higher, we recommend doubling the required number of sections!
Where will we place?
Typically, radiators are placed where the greatest heat loss in the apartment is expected. Typically, this area under the window or from the side of the corner wall of the house. Even if the apartment is located in a well-insulated house and is equipped with double-glazed windows, the window is the place where the lowest air temperature will be in the cold season.
Choosing the best place for the radiator
If you do not put a radiator under the window, then the cold air penetrating from the outside will gradually sink down and spread across the floor. We know from physics lessons that warm air moves up. So, moving away from the battery and rising to the ceiling, it will create a kind of barrier to the cold stream from the street. According to the recommendations of SNiP, the size of the battery should occupy at least 70% of the window, otherwise warm air will not create the necessary barrier.
With too short batteries, a situation may occur when cold zones form on the sides. As a result, the room temperature will be low even with a powerful radiator. As you can see, not always only the battery power provides a comfortable microclimate in the apartment.
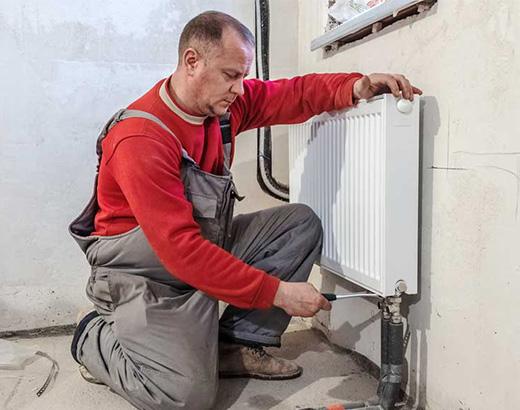
Installation features: we determine the wiring system
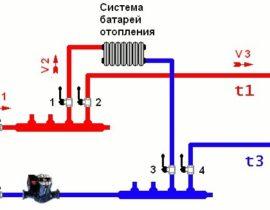
First you need to decide on the distribution system of the heating system in the apartment: single-pipe or two-pipe.
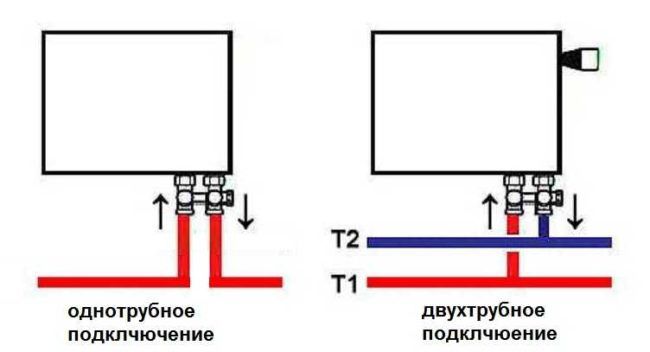
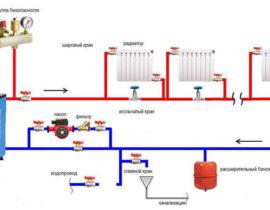
Heating system wiring
One-pipe series circuit. This is the simplest option that will allow you to quickly deal with the radiator connection diagram. The coolant sequentially enters through the pipe, passes through the radiator design, and then returns back to the pipe.
The two-pipe version is also popularly called the "return".This is a parallel connection, when the coolant passes through one pipe and returns, already cooled down, back. Although this option will cause some difficulties for beginners, it has a lot of advantages:
- the room warms up evenly;
- it is possible to set the required temperature for each individual radiator with a thermostat.
Choosing the right type of connection
The type of connection is of no less importance: lateral, lower or diagonally.
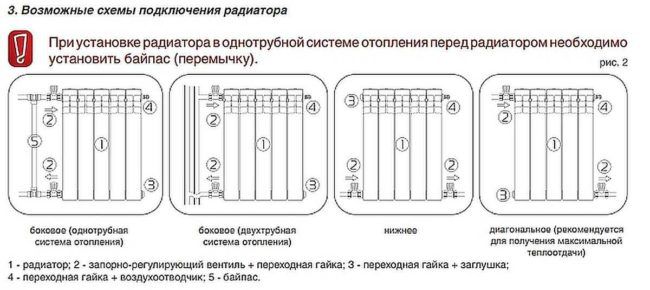
Battery connection diagrams
Typically, the type of connection is selected depending on the layout and features of the apartment.
 Lateral battery connection | One of the most common options is a side connection, which has good heat dissipation, but if a long radiator is installed in the apartment, it may not warm up completely at the edge. |
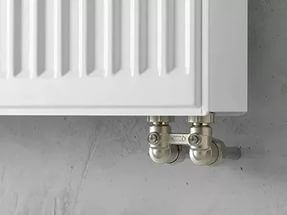 Bottom battery connection | It is advisable to choose a bottom connection if the pipes pass under the floor or are hidden under the baseboard. The pipes are directed downwards, which does not violate the aesthetic appearance of the battery. However, with this type of connection, heat loss can reach 15%. |
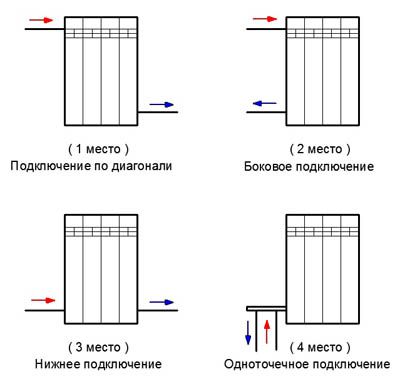 Diagonal connection is the most efficient | Diagonal connection should be used if the length of the radiator is at least 12 sections. Here the pipe is connected to one end of the battery, the coolant passes through the entire structure, and returns through the other pipe. Heat loss with a diagonal connection usually does not exceed 5%. |
When the choice is made, and you have decided on the type of radiator and the type of its connection, you can proceed with the installation work.
Today, the most popular among heating appliances for apartments with a central heating system are cast-iron and bimetallic batteries.
We suggest that you read in detail the instructions for each of these options, which have a number of technical features.
Before starting installation for apartments with a central heating system, it is necessary to obtain permission from the relevant authority to carry out installation work. You will have to drain the water from the batteries, which means that you first need to turn off the entire riser. This is a mandatory condition, failure to comply with which threatens with a serious administrative fine. After you fill out all the documents, a locksmith will come to you at the appointed time to drain the water to the desired floor. Of course, the dismantling and installation of batteries must be carried out during the non-heating season.
Damage to the tightness of the heating system in the apartment during the heating season can lead to an accident, for which you will be charged an impressive fine. In addition, you will leave the whole house without heating for a long time!
Installation of bimetallic radiators: SNiP for an apartment
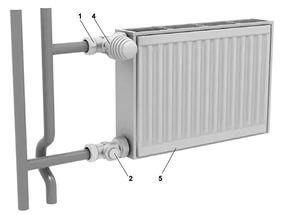
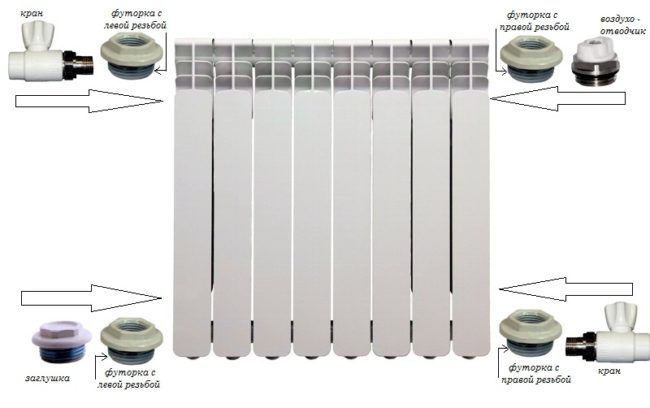
There is a wide variety of bimetallic radiators on the market today, which differ not only in shape, size, but also in the type of connection: side and bottom. We suggest that you familiarize yourself with the detailed installation instructions for a bimetallic radiator with a standard side connection.
The procedure for measuring the heating system in an apartment with your own hands (when installing batteries in a new building, you can skip the dismantling step):
- Dismantling old batteries.
- Bracket attachment.
- Assembly and installation of radiators.
- Connection to the heating system.
- Check for strength and leakage.
To install bimetallic batteries, we need the following tools and materials.
materials:
- Battery kit.
- Brake cleaner and brush (for cleaning radiator threads).
- Brackets that are selected depending on the material of the wall. Their number is calculated depending on the size of the radiator itself. For a standard radiator, consisting of 6-8 sections, you need to take 3-4 fasteners.
- Sgons or adapters. These elements will allow you to connect the radiator to the heating circuit pipe without welding.
- Accessories (valves, adapters, couplings).
- Mayevsky's crane - with the help of this part, if necessary, accumulated air can be removed from the pipes (the so-called "Airing").
- Temperature controller. Allows you to control the supply of hot water to the radiator, which allows you to independently set the microclimate in the house. You can, of course, get by with an ordinary half-turn tap, but then you will have to manually adjust the degree of opening of the tap once a day in order to avoid temperature fluctuations. And this, you see, is not very comfortable.
- Tow, sealing tape.
Attention!!! The thermostatic radiator thermostat is installed only with a two-turbine connection system!
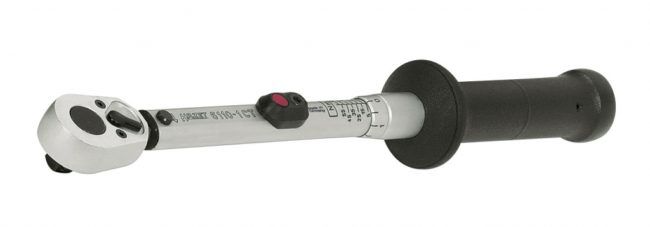 torque wrench 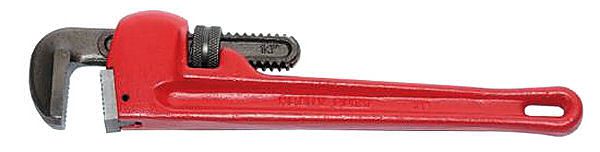 gas key  Pipe soldering iron |  Bulgarian  Drill  Level |
Installation of bimetallic batteries must be carried out in the original packaging (film). The top layer of the radiator is made of high-quality aluminum, and this material is quite fragile. It is easily damaged during installation work with a tool, so open only those areas to which you will connect pipes and adapters.
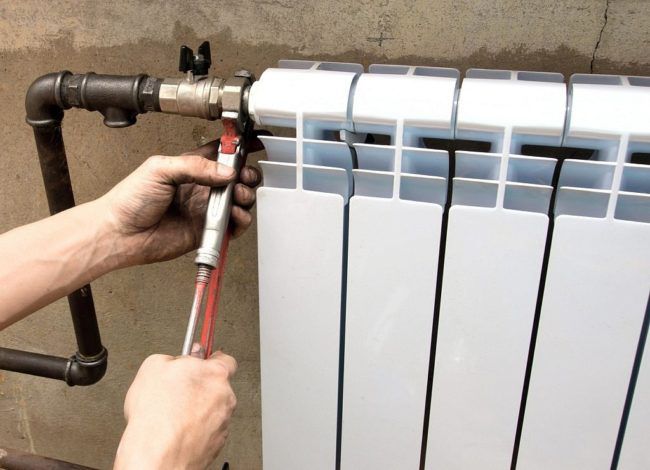
 Before removing the old battery, make sure that the water is completely drained. | Before dismantling the old battery, you must make sure that the water is drained, otherwise an accident cannot be avoided. Not everyone has a battery grinder. If you dismantle with an electric tool, then it is easy to predict the result. |
 Marking for the battery | Choose a place to install the radiator. It depends on the type of connection, its length. We determine the distance of the battery from the floor and from the wall.
|
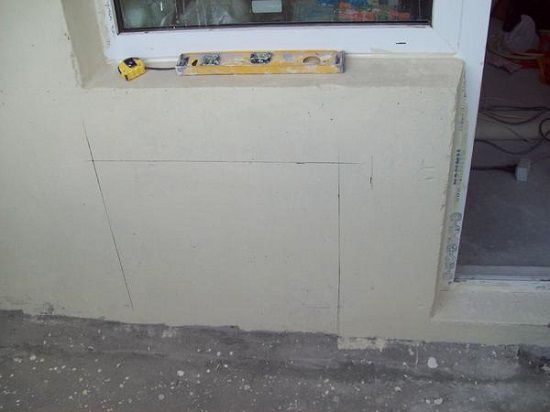 Marking the wall for the radiator | We make markings with a pencil on the wall where the radiator itself will be placed. And we do not by eye, but strictly according to the level. Radiators in the same room must be installed at the same level. It is advisable to do this from the point of view of efficiency and aesthetics. Now we mark the points where the brackets will be installed. We drill holes in the wall into which we insert dowels. We screw the fasteners (brackets). Some models already come with a set of fasteners in the kit. Depending on the length of the radiator, there can be 2 or 4 of them. |
 We assemble the radiator | Radiator assembly.
|
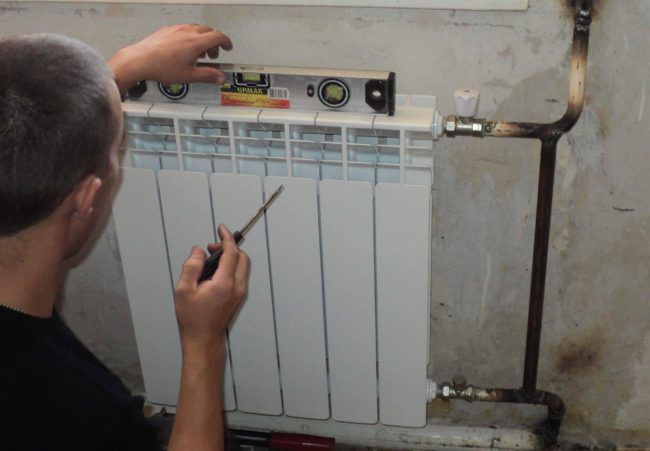 Checking the correct installation of the battery | We hang the assembled battery structure on the brackets so that it is tightly supported at all points. There are already special brackets on the back of the radiator, so this will not be difficult. Check again the degree of inclination with the building level. Adjust the slope of the structure if necessary. |
 Battery connection | We connect the radiator to the supply and discharge pipelines. We make sealing with the help of flax (tow or sealant). We bait the Mayevsky crane on the adapter and twist everything well with a key. We connect the pipeline to the radiator. |
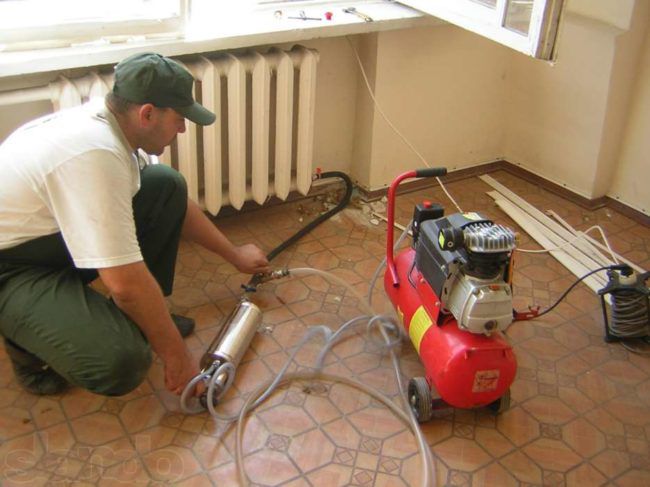 Verification test | We carry out a pressure test. You can, of course, perform professional crimping. But for this you will have to call a specialist with a tool or buy the most expensive device. And you can do it in a simpler way. Slowly open the taps to fill the radiator with water. If this is done abruptly, then a powerful water hammer can occur, which will violate the integrity of the structure. We check each joint, connection for leakage. |
We invite you to familiarize yourself with the detailed video instructions for installing a steel or bimetallic radiator in an apartment:
Step-by-step instructions for installing cast iron batteries in an apartment
Installation of cast iron radiators has a number of distinctive features. First of all, this is due to the heavy weight of products that cannot be installed alone.
The method of connecting the battery to the pipe will also differ.If we connect steel and aluminum pipes with a thread, then gas welding will be used here. Before proceeding with the installation work, you need to stock up on the necessary set of tools and materials.
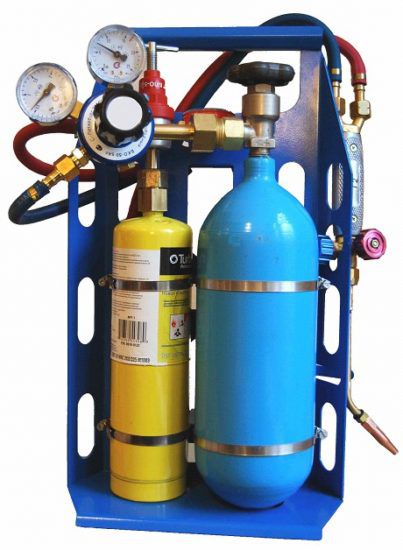 gas welding 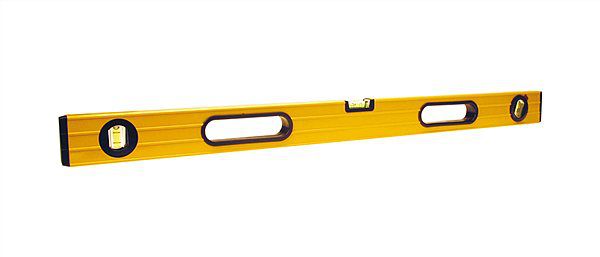 Level |  A set of keys 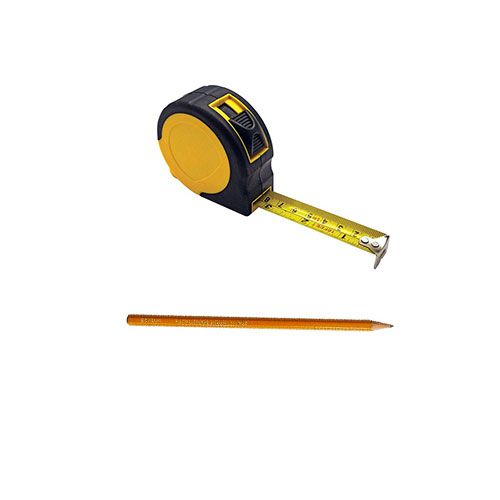 Tape measure and pencil |
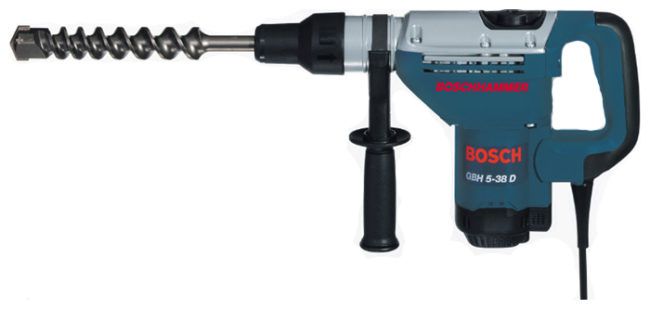 Perforator | |
Materials:
- set of batteries of the required size;
- sealant (linen or FUM tape);
- fittings (plugs, tees);
- Mayevsky's crane;
- thermostat;
- fasteners (brackets).
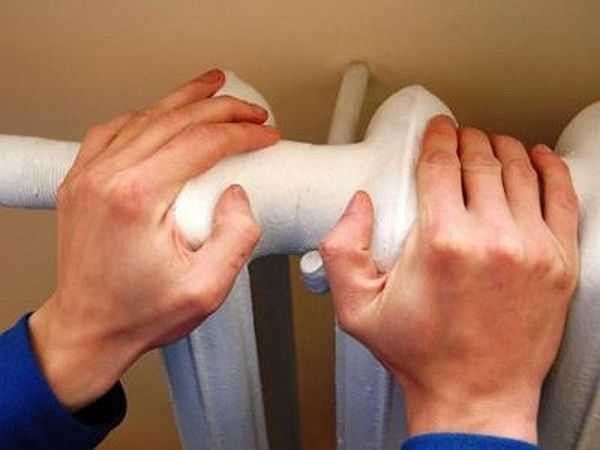
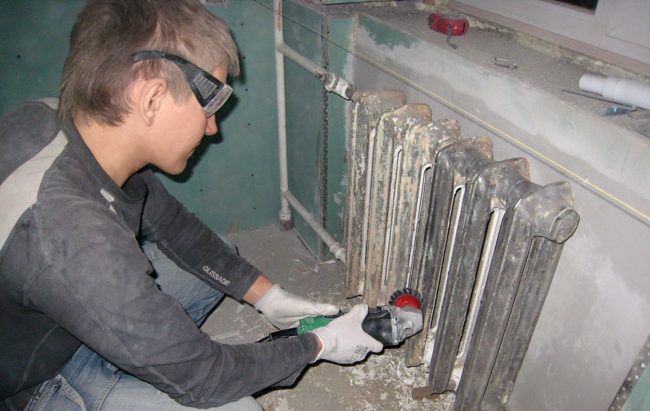 Dismantling the old radiator | We are dismantling the old battery. With the help of a grinder, we carefully disconnect the cast-iron structure, making sure that the entire system is turned off and the remaining water from the pipes is drained. |
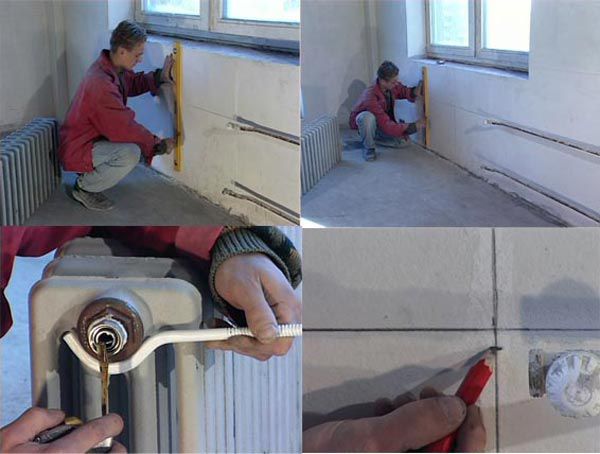 Before starting installation, it is necessary to make markings for mounting for the battery 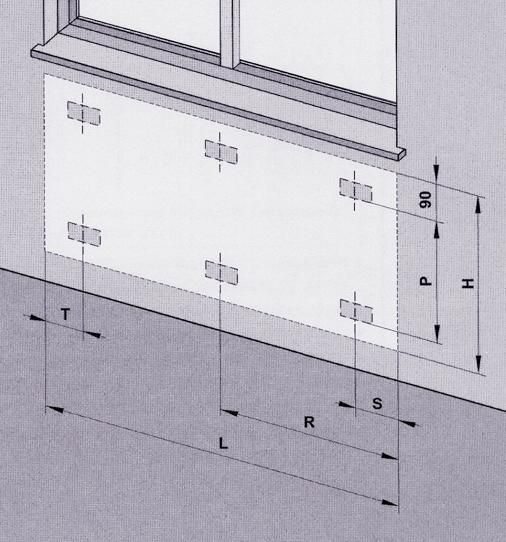 General marking scheme for radiator brackets | We determine on the wall the location of the battery in the room. By installing the radiator clearly in the center of the window, we will achieve normal and natural air circulation in the room.
|
 We mount the brackets and install the battery on them | We install the brackets in the wall.
|
Battery connection  Bypass | We begin connecting the radiator to the heating system.
Note. If you want to install a faucet that bypasses the water supply, then you should make a jumper (bypass). Otherwise, you will cut off the heat supply to your neighbors! |
 Final check | We are testing the installation. Gradually turn off the tap and start the water. This must be done slowly, not allowing a powerful stream of water to immediately fill the radiator, in order to avoid water hammer. |
In conclusion, we would like to suggest that you familiarize yourself in detail with the video instructions for installing radiators with your own hands, so that you can clearly see some of the features of the installation.
Proper installation of the radiator in the apartment is the key to efficient operation of the heating system and comfort in the house. Therefore, strictly follow all the rules of this instruction and you will definitely succeed.
Do-it-yourself installation of a cast-iron radiator - video of the process from A to Z