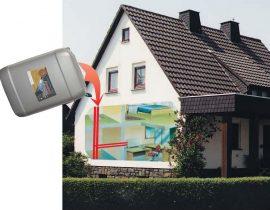
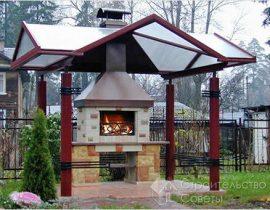
Electric and gas heating has entered almost every home, but many owners of summer cottages and country mansions still prefer brick stoves.
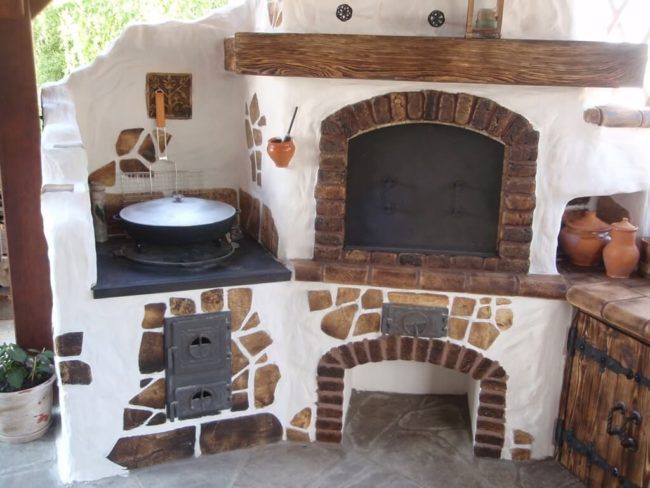
Furnace lined with plaster
This is due to the economy of operation, the environmental friendliness of fuel and the special atmosphere of home comfort, to which we all gravitate.
About what should be the plaster of the brick oven and how to perform it correctly - we will describe in detail in this article.
Let's start with what plaster is generally needed for.
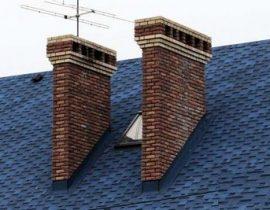
Many owners of stoves during operation are faced with such an unpleasant fact as wall cracking, which leads to a violation of its technical properties and can cause carbon monoxide to enter the room.
This happens not so much from time, but rather from a violation of the technology of plastering and improperly prepared composition of the finishing mixture.
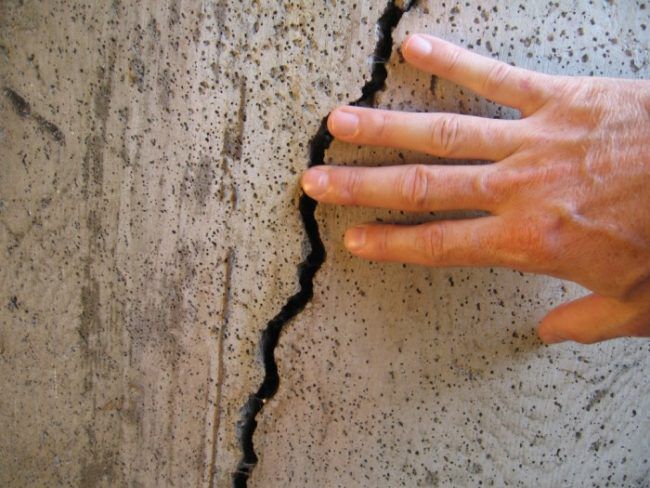
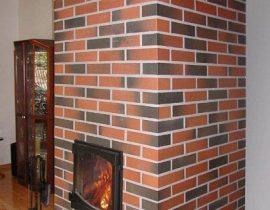
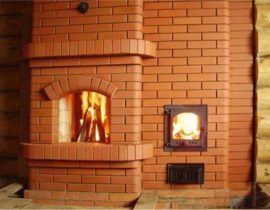
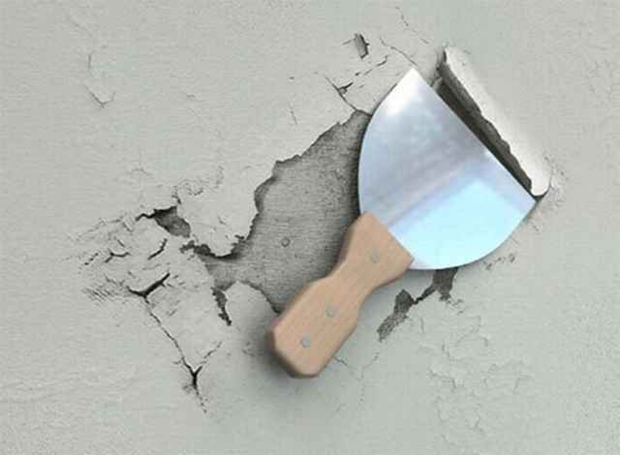
Lack of cladding will lead to cracking
Whichever version of the plaster you choose, it must meet certain technological standards.
In addition, an unlined stove does not look aesthetically pleasing, and the process of caring for it is difficult. If the stove is not plastered, then after a while dust, soot, grease, etc. will clog into the seams and folds between the bricks.
Also, a non-plastered stove can absorb unpleasant odors, which will then be difficult to remove.
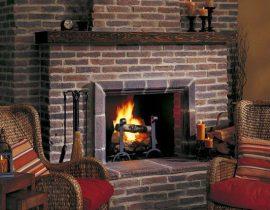
Plaster improves the condition of the furnace
What are the requirements for plaster for ovens?
- Adhesion.
- Heat resistance.
- Normal reaction to the expansion of the walls during the firing of the furnace.
Content
Advantages and disadvantages of plaster finish
The advantages of lining the furnace with plaster include:
- Low cost. Compared to any other type of oven finish (tiles, clinker tiles, red brick, etc.), stucco is the cheapest option.
- Ease of work. For finishing with clinker tiles or red brick, experience and knowledge are needed. And even a beginner can plaster the oven with his own hands.
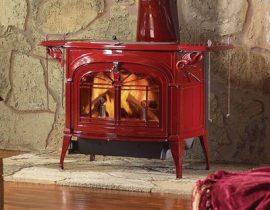
- Versatility. This finishing option, such as plastering, is suitable for absolutely any stove or fireplace: Swedish, dutch oven, bell-shaped, Russian, etc.
- Increasing heat transfer. A layer of plaster increases the thickness of the furnace walls, and therefore increases the efficiency of heat transfer.

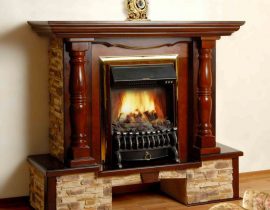
Plaster can cover any stove
- Increasing fire safety. In addition, a thick layer of plaster prevents carbon monoxide from entering the room.

The only drawback of such facing works is cracking, but this can be avoided if all technological norms and rules are strictly followed when performing plastering work.
What can cause cracking? There are several options:
- Poor composition of the solution.
- Wrong technology of facing works.
- Incorrect priming and preparation of the oven surface.
Types of mortar for plaster oven
The main requirement for the solution is the ability to withstand sudden changes in temperature.
There are several options for plaster mixtures that you can prepare yourself:
- Simple solution. It consists of only 3 components: sand + clay + water.
- Complex solution. The composition includes additional components: lime, cement, gypsum, etc. As a rule, such solutions are purchased in stores, since it is difficult to prepare them yourself at home.
Factory plaster for the oven
To prepare a simple mortar, we need clay, river sand, water and crushed fiberglass, which adds strength to the plaster.
We take 1 part of clay of medium fat content, 2 parts of high-quality sifted river sand and 1/10 of chopped fiber.
The quality of the solution is greatly influenced by clay, which is lean and oily. The degree of fat content of clay can be varied in the mixture by adding or reducing sand. For oily clay, you can increase the amount of sand to 4 parts per part clay.
Video: preparing a mixture of clay for plastering the oven
Some stove-makers prefer to add not asbestos fiber (fiberglass), but crushed straw or hemp to the plaster, citing the environmental friendliness of the material. However, natural components do not give such strength to the solution as fiberglass.
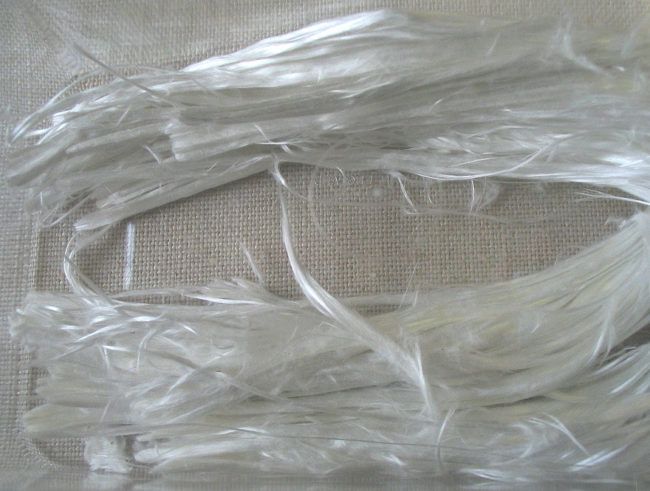
asbestos fiber
To prepare a complex solution, you will need:
2 parts slaked lime.
1 part building plaster.
1 part river finely sifted sand.
0.2 parts fiberglass (or asbestos).
It will not be easy for a beginner to work with a gypsum-lime mortar, since the gypsum hardens very quickly. Already 30-40 minutes after the preparation of the mixture, such a solution is almost impossible to apply to the oven wall, so it is better to prepare it in portions.
Basic rules for applying plaster to the oven
And although facing work is not a tricky business, you still need to take into account the basic rules that will help you successfully cope with the task.
- The oven must be well dried before starting work.
- If facing work needs to be carried out on an old furnace, then the first step will be to clean the surface of the old plaster. Do not ignore this step and never apply fresh grout over old cladding.
Cleaning old plaster
- If the plaster is being prepared for painting, choose only water-based paint. If drying oil or other components are present in the paint, then when the oven is heated, this smell will spread very strongly throughout the room. Even with prolonged use, it will not fade.
- Use only natural materials that will not harm the health of the residents of the house.
Do-it-yourself plastering of a brick oven: step by step instructions
Before proceeding with the finishing work on lining the furnace with plaster, it is necessary to prepare the following materials and tools:
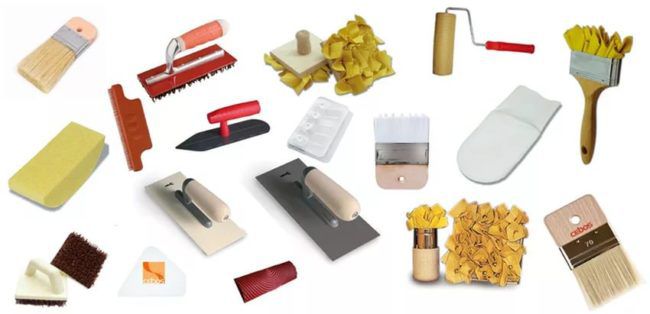
Plaster tools
- Spatula medium - for a set of solution.
- Spatula wide - for spreading the plaster over the surface.
- A hammer will be needed to reinforce the wall.
- The grater helps distribute the solution and smooth the surface.
- Chisel.
- Smoother - allows you to bring the surface to a perfectly even coating.
- Brush - will help to give the surface a textured pattern.
- Corner leveler.
- Metal brush for surface cleaning.
- Building rule.
- Building level and plumb.
Step 1. Preparatory work
Furnace plastering work is recommended to be carried out at least 2-3 weeks after the complete completion of the furnace masonry. It should dry well, and the masonry mortar should completely harden. If you hurry and start facing work ahead of time, then after 2-3 kindling of the furnace, cracks may appear on the decorative layer.
For even application of the solution, it is necessary to carefully prepare the wall of the furnace.
- Prepare the workplace for construction work. It is advisable to cover all the furniture and the floor with a film, since a lot of dust is generated during the cleaning of the wall surface.
Removing the old cover
- If you decide to update the cladding on an old stove or fireplace, you must first clean the surface of the old layer. Use a chisel and hammer for this step. If you are lining the oven with plaster for the first time, then it is necessary to pass the surface well with a brush, as the solution may remain on the walls.
- After you have completely removed the top old layer of plaster, clean the surface well from dust and dirt with a metal brush and a rag.
Advice. To clean the walls, use only a dry cloth, as a wet one may leave dirty stains that will show through the layer of plaster.
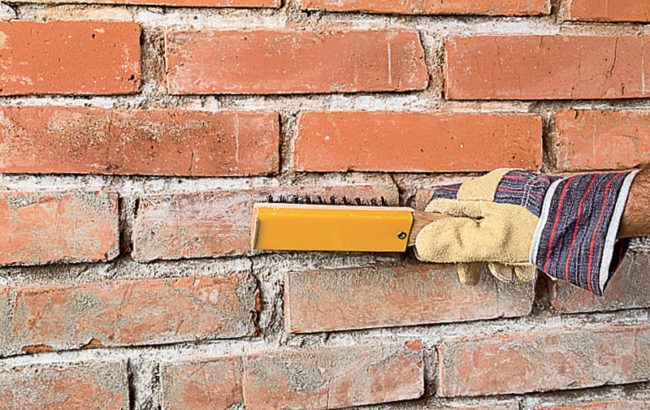
- Now let's start deepening the seams. Using a brush and a trowel, we clean the dry mortar from the seams.
Deepening the seams
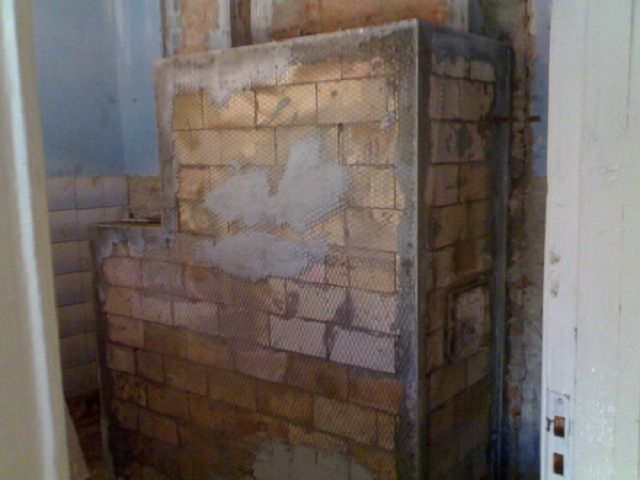
- If, after cleaning the surface from the old layer of cladding, you see that the wall is not even, then you will have to apply plaster in several layers. To do this, you need to stretch a metal mesh with cells of 15 * 20 mm onto the wall.Attach the mesh to the wall with wide-brimmed nails, which must be inserted between the seams. The reinforcing mesh will allow the plaster to grab well, and a thick layer of cladding will only increase heat transfer.
- If the corners are not even, then you can attach the steel corners to the glue.
- We prime the seams with a brush.
Step 2. Preparing the mixture
You can choose any mixture for plastering the oven: ready-made store or do it yourself.
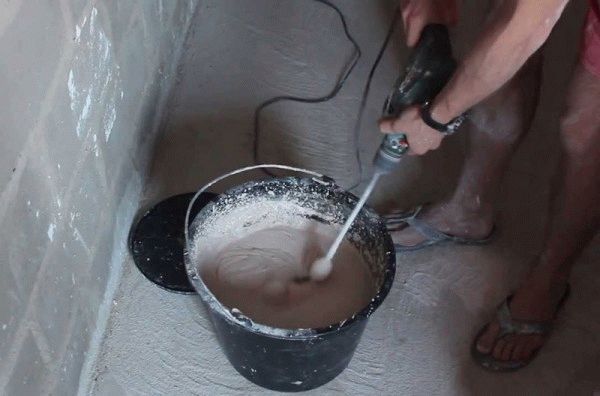
To prepare the solution with your own hands, combine the required amount of dry ingredients in a bucket and only then add water. Using a construction mixer, you need to knead the solution well.
How to prepare lime mortar?
- If you are using a clay-lime mortar, then the lime must first be extinguished.
To do this, pour lump lime into a metal bucket and fill it with water. Do all work outdoors. After a day, drain the cooled solution, and pass the slurry, which settled at the bottom in the form of sediment, through a wide sieve to remove all undissolved lumps.
Solution preparation
- Soak the clay in water for 4-5 days. After it turns into a pulp, you need to pass it through a wide sieve to filter out all the lumps and excess debris.
- Add 0.2 parts of asbestos or fiberglass.
- Thoroughly knead the mixture with a construction mixer or a drill with a nozzle. The consistency of the solution should be plastic, without lumps and resemble sour cream.
Step 3. The process of applying plaster
There are two ways to plaster the surface of the furnace. It all depends on the condition of the walls.
First way
- If the walls are not even and a reinforcing mesh is installed on them, it is necessary to attach guide beacons, which will serve as a guide for the correct application of the mortar. We set the beacons according to the building level and check their verticality with a plumb line.
Lighthouse plastering
- We heat the furnace well and wait until the fuel burns out completely.
- We apply water with a large brush to the hot surface of the walls. You can use a roller for this. It will remove any remaining dust.
- We apply a primer and wait until it is well fixed. If you skip this step, there will be poor adhesion between the wall and the plaster, which can lead to flaking in the future.
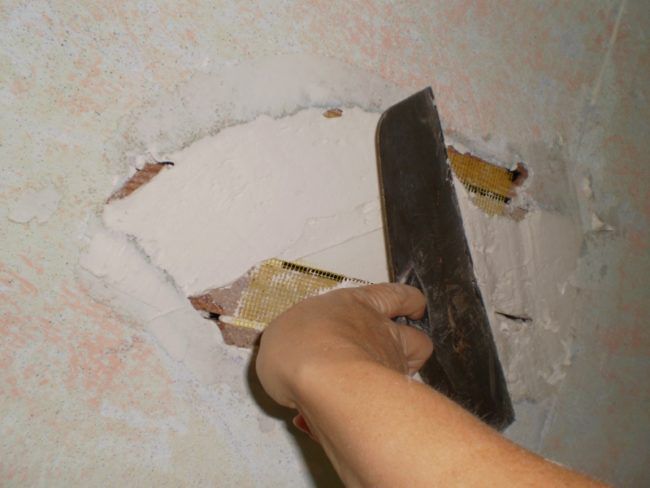
- We apply the first layer of plaster with a thickness of 5 mm. We apply it with sketches, as if spraying all over the wall. The task of this stage of work is the deep penetration of the mortar into the seams between the bricks, which were previously buried.
- Let the solution dry well.
Application technique
- Now apply carefully the second layer of the solution. At the same time, we make sure that it goes 9-10 mm beyond the beacons. Movements should be made from the bottom up. Immediately align the mortar with a building rule.
- Slowly move along the entire wall, applying plaster from the bottom of the wall to the top and leveling it with a rule.
- When it comes to corners, use an angled trowel.
A metal profile can be glued to the corners
It is better to round the corners a little. Firstly, it will ensure the safety of the residents of the house, especially children. And secondly, there is less chance of a corner chipping during operation.
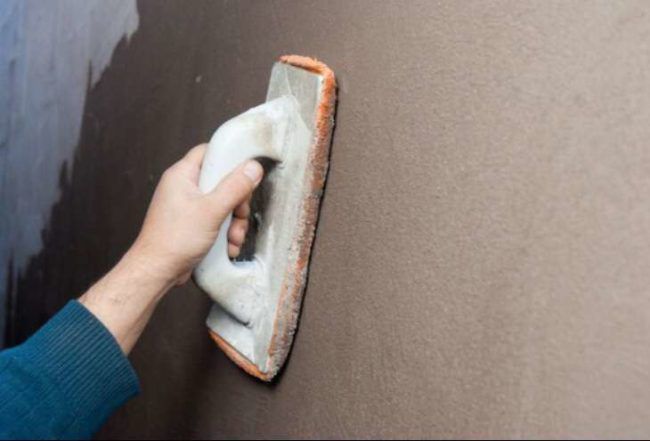
- Now you need to sand the surface of the wall while it is still wet and pliable.

Advice. In order to prevent cracks from appearing on the walls during the operation of the furnace, throw wet burlap on them. After the fabric is dry, wet it again and throw it on the wall again until it dries completely.
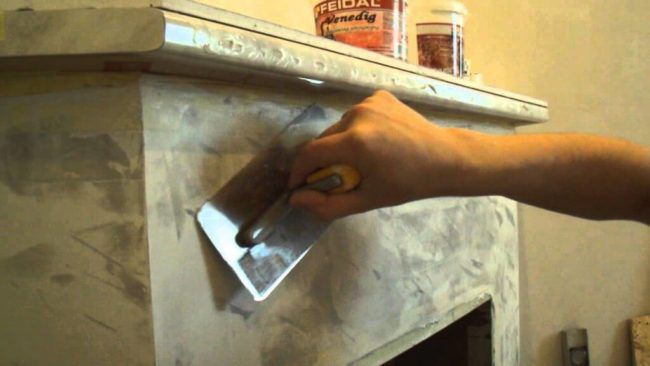
- The third layer will be decorative. For him, you need to prepare a more liquid solution. If you still have a lot of ready-made solution, add a little water to it. It will help to perfectly level the entire surface of the wall and sand it.
- The plaster is applied in a thin layer of 1 mm. If you do not plan to whitewash the oven or cover the paint, then you can not apply this last coat.
Second way
This option should be used if the wall surface is very uneven and you had to attach a metal mesh to the stove.
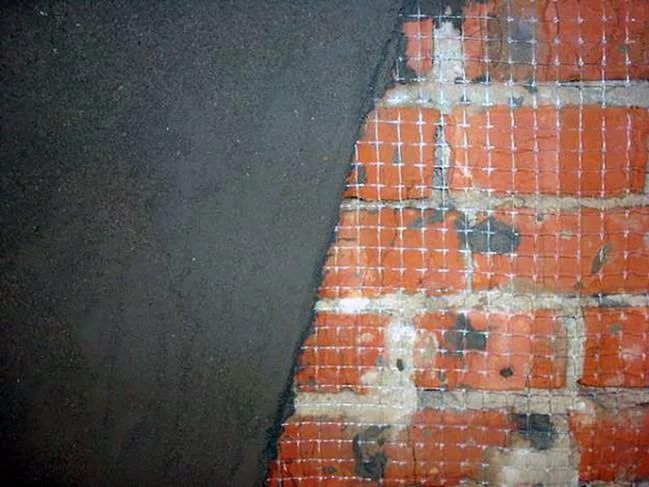
Reinforcement
- In the same way as in the first method, the first layer of plaster is applied using the “spray” method from top to bottom.
- In those places where there are large cavities of the furnace, it is necessary to apply plaster until it goes beyond the grid. The metal frame will give rigidity to the structure and will not allow the plaster to move out.
- After applying this first layer, you will notice that the mesh can no longer move. Now apply a second layer of plaster on top of it.
- Align the wall with the help of the rule and the trowel.
- We sew the seams.
Grinding
- Surface grinding.
Step 4. Decorative work
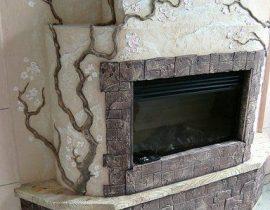
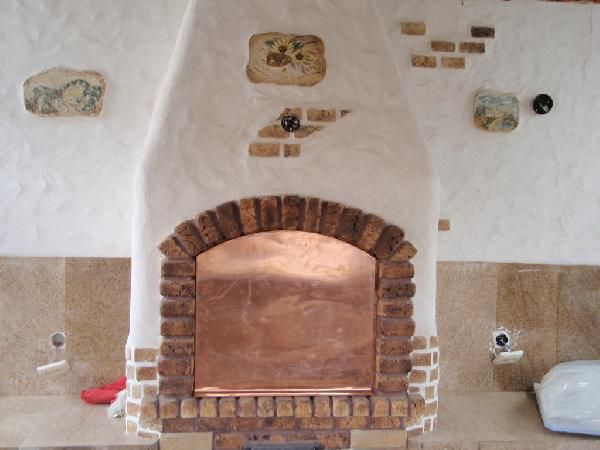
Of course, plaster itself can act as a facing material, but to add decorativeness, the stove can be decorated.
To do this, you can use elements of ceramic tiles, laying it out as an ornament, or you can whitewash a plastered wall.
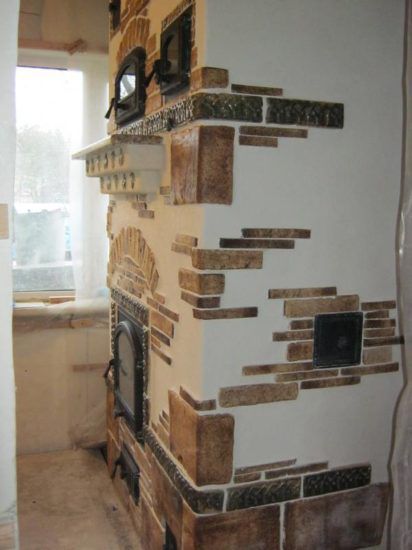
Decorate a plastered oven
A great way to beautifully decorate a wall is to draw a pattern on a plastered surface. It all depends on creativity and skill.
For this part of the work, you will need a brush and plastic wrap.
We apply a thin layer of liquid plaster.
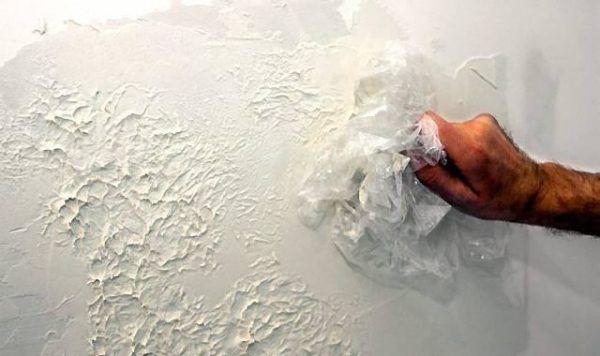
Drawing with polyethylene
With the help of polyethylene rolled into a ball or a paper ball, we make a drawing in any form, slightly pressing the shape into the layer. We are waiting for complete drying.
To make it easier for you to master the facing of the furnace using plaster, we suggest watching a training video before starting work.
How to properly apply plaster on the oven - training video