How to assemble a chimney sandwich? Every novice stove-maker asks this question, because sandwich chimneys firmly occupy a leading position in the construction of fireplaces and stoves, displacing brick and metal chimneys. Their popularity is easily explained: sandwich chimneys are safe, practically do not heat up, are less prone to blockages, and besides, they are easy to install. Our article will tell you how to do it correctly.
How to assemble a sandwich chimney
Content
Types and features of sandwich chimneys
This type of chimney includes multi-layer prefabricated stainless steel or ceramic chimneys. They are produced in the form of finished elements, assembled into a single design. Both types of sandwich chimneys have their own characteristics, but their installation is generally similar.
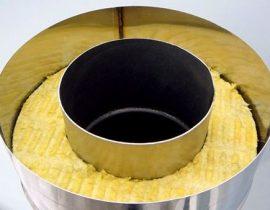
Stainless steel chimneys consist of a high temperature-resistant inner tube wrapped in a layer of non-combustible heat-insulating material, protected from external influences by an outer tube made of stainless steel or, for cheaper chimneys, galvanized steel. The inner pipe can be either metal or ceramic, such chimneys are called combined.
Video - installation of a combined sandwich chimney
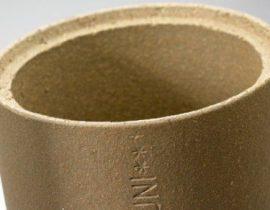
Ceramic chimneys are a pipe made of heat-resistant ceramics, coated on the inside with high-strength glaze, and wrapped on the outside with heat-insulating mats. This structure is placed in an outer shell of expanded clay or foam concrete blocks.
Due to their design and the layer of heat insulator, sandwich chimneys from the outside never heat up to high temperatures that can lead to a fire. This feature, as well as quick and easy installation, make them popular with builders.
Metal and ceramic chimneys, despite the similarity in design, have differences, and the main one is weight. A full-fledged ceramic chimney can weigh about a ton, while the weight of a stainless steel chimney does not exceed a couple of hundred kilograms. For a ceramic chimney, a foundation is required, while for a metal chimney there are enough unloading platforms at each level of floors. At the same time, ceramic chimneys are more durable and will last you at least 20-25 years. And metal structures, especially when using fireplaces with direct chimneys or stoves like potbelly stoves, burn out after 5-10 years and must be replaced.
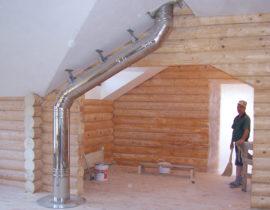
Installation of a stainless steel sandwich chimney
The installation of elements of a metal chimney is not difficult, the main thing is to observe the direction of connection of the elements “through smoke” and “through condensate”. What does it mean? When the furnace is lit, the smoke rises. If an obstacle is encountered in its path in the form of even an insignificant plane formed by the previous element and facing downwards, solid smoke particles settle on it, and the chimney becomes clogged over time.With condensate, the opposite is true: it flows down, lingering on the ribs of the elements directed upwards, and penetrates into the insulation, worsening its heat-insulating and fire-fighting properties. This is clearly seen in the figure.
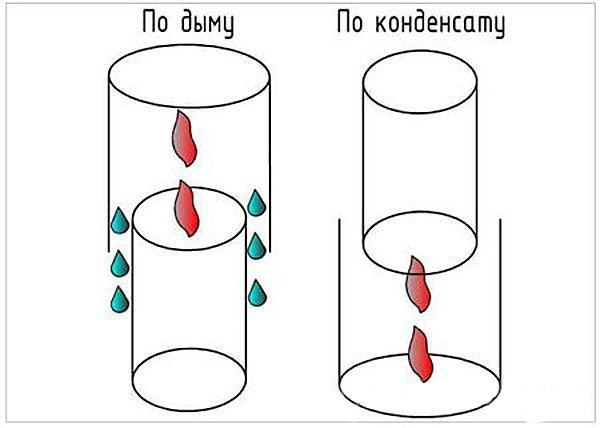
Assembly of chimney elements "by smoke" and "by condensate"
When working, be sure to use thick gloves - thin metal can cut the skin. When installing the elements, it is necessary to check their verticality with a level and make sure that the distance to non-insulated combustible structures does not exceed 25 cm for sandwich elements and 60 cm for single pipes.
Metal sandwich chimney: installation sequence
1. A single metal pipe is installed at the outlet of the smoke collector of the furnace. Its height determines the heat transfer into the room. The pipe is placed “through the smoke” - put on the pipe from the outside. Before or after the pipe, they put a gate that blocks the chimney. All joints are coated with heat-resistant sealant.
2. A starting sandwich chimney is installed on a single pipe: a double pipe closed from the bottom end. Sandwich pipes are subsequently installed on it. The starting element is mounted on the pipe "by smoke", put on the pipe. Joints are also coated with sealant.
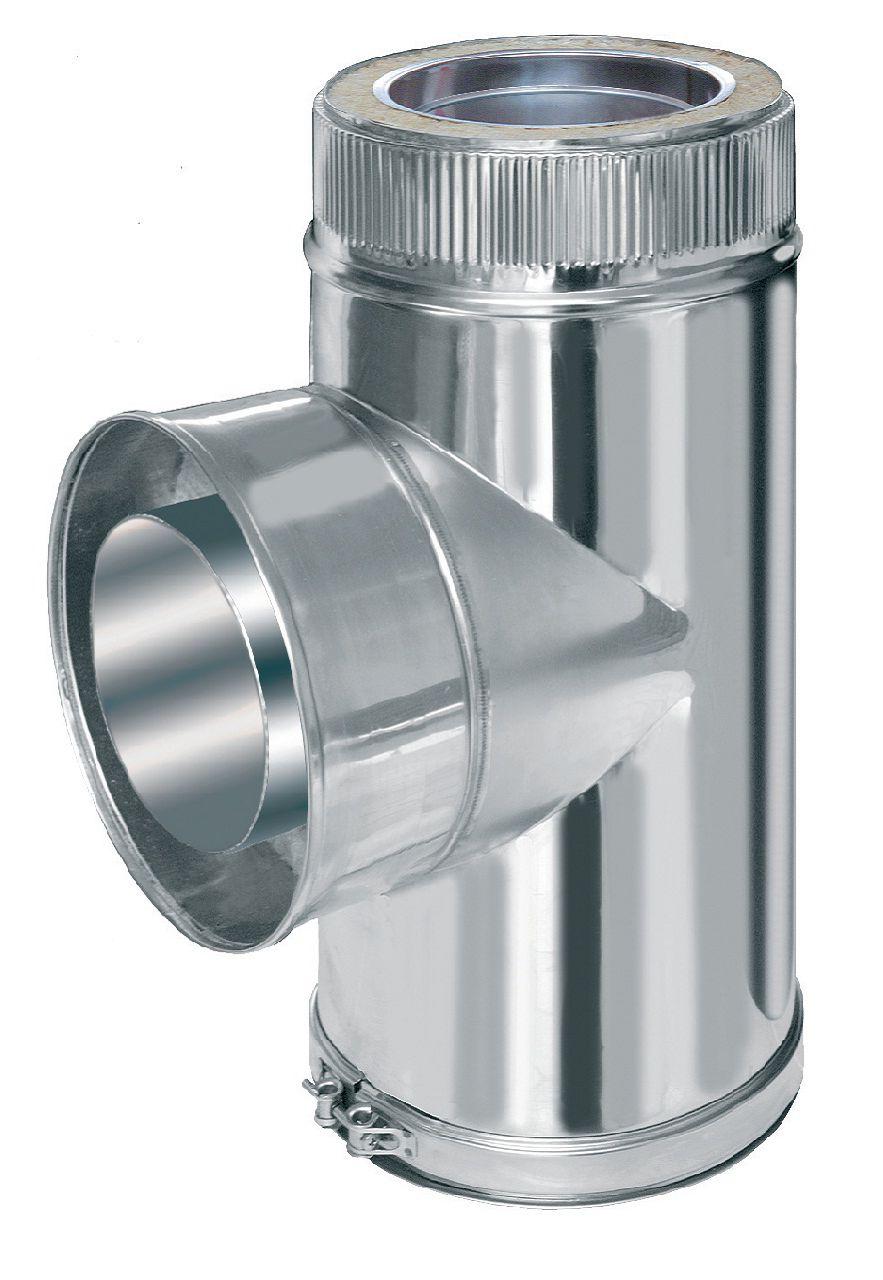
3. Start assembling the chimney from the necessary elements, possible elements of the chimney are shown in the figure. Pipes and elbows are mounted “by condensate”, that is, they are inserted inside the previous element so that the flowing condensate does not fall into the fibrous insulation. Joints are also desirable to coat with sealant.
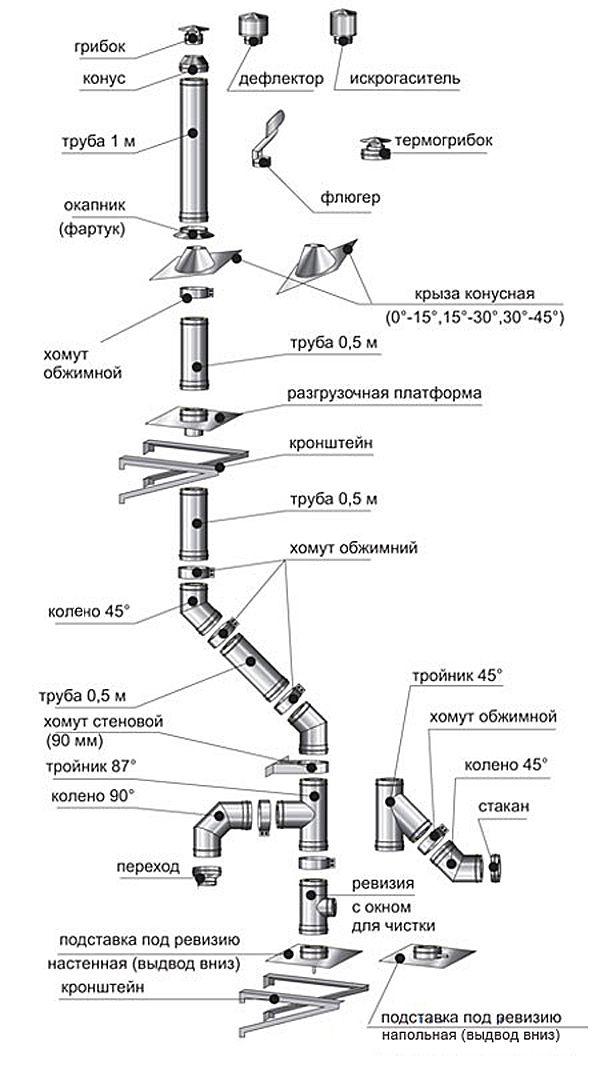
Elements of a sandwich chimney made of metal
4. When passing through the floors, unloading platforms are used, and the pipe itself is tightened with clamps every two meters and attached to rigid structures.It is better to do this in places where the pipes are connected, so additional strength is given to the entire chimney. From combustible structures, the pipe is separated by a layer of basalt wool, laid in a special box.
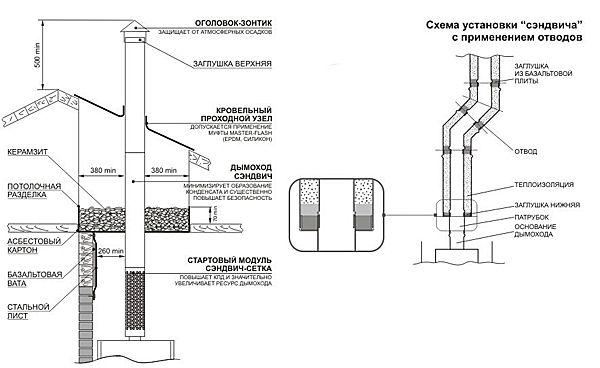
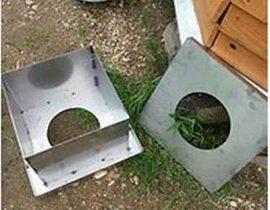
Chimney passage through combustible structures
5. For pipes with many bends and branches, it is mandatory to install inspection elements with a window for cleaning. They are installed in places with open access to the pipe also "for condensate".
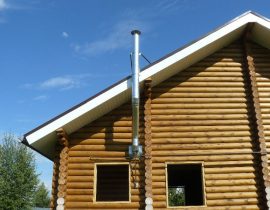
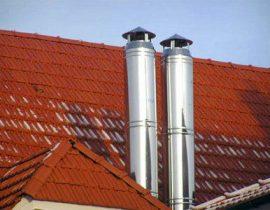
6. The passage through the roof and sealing is performed using a special lining - a conical roof, and an apron. The upper part of the pipe is equipped with a head or deflector.
7. During the first firing and heating of the pipe, the sealant hardens and creates additional strength and impermeability to smoke and condensate.
Video - installation of a stainless steel sandwich chimney
Installation of a ceramic sandwich chimney
The main difficulty in the installation of ceramic sandwich chimneys is the arrangement of a reliable foundation, as well as the assembly of the outer shell. Foamed expanded clay concrete blocks are used for the shell of chimneys - they are light, durable and not afraid of moisture. Ceramic pipes are heavier than metal pipes, so installation is best done by a team of two or three people.
Ceramic sandwich chimney: installation sequence
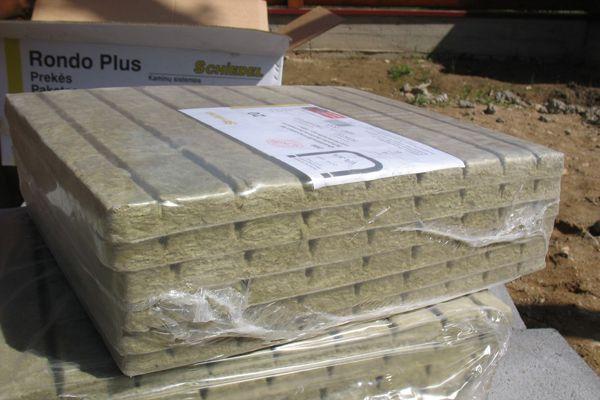
1. Check the availability and completeness of all elements of the chimney in accordance with the project: pipes, blocks, insulation, additional elements.
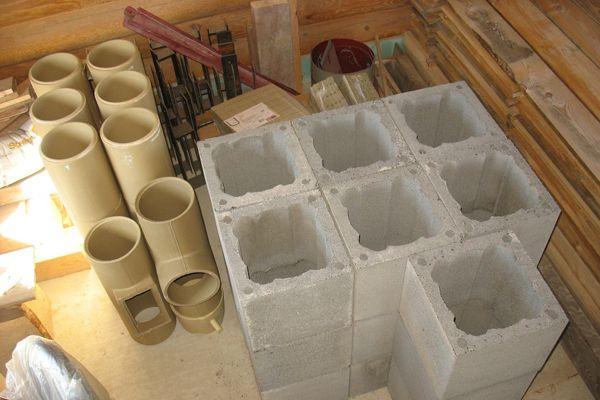
Ceramic pipes and concrete blocks for sandwich chimney
Insulation - basalt wool
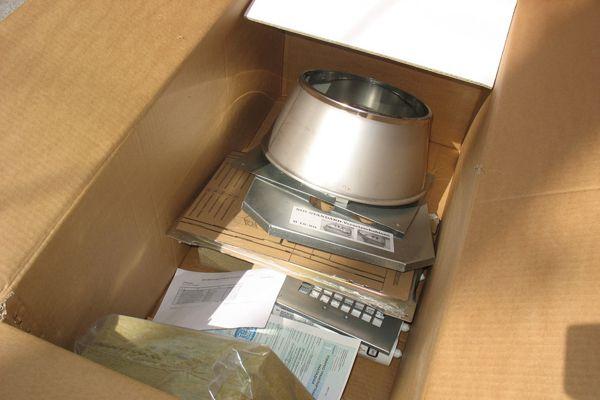
Additional elements, templates and cap
2. Level the foundation with a sand-cement mortar and wait a few days for it to gain strength.Two or three layers of roofing material are laid on top of the screed - waterproofing will not allow moisture from the soil to penetrate into the walls of the chimney.
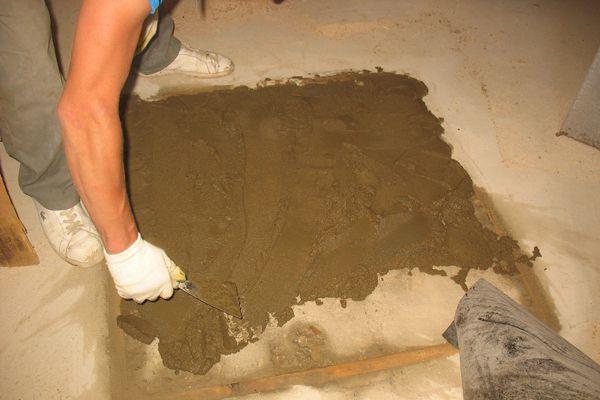
Foundation needs to be leveled
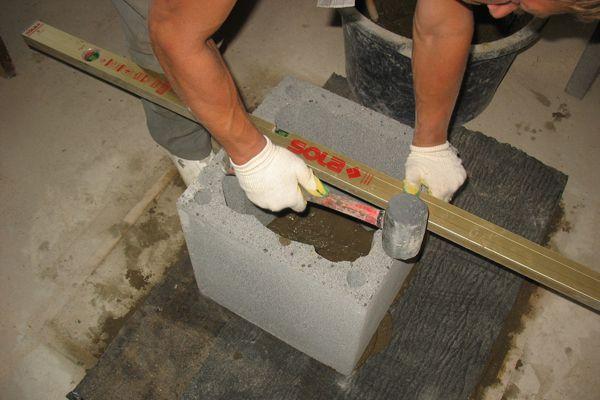
3. Install the base block first. This is a very important stage - any deviation from the vertical of this block will lead to a strong distortion of the entire chimney, so at this stage it is imperative to use a level.
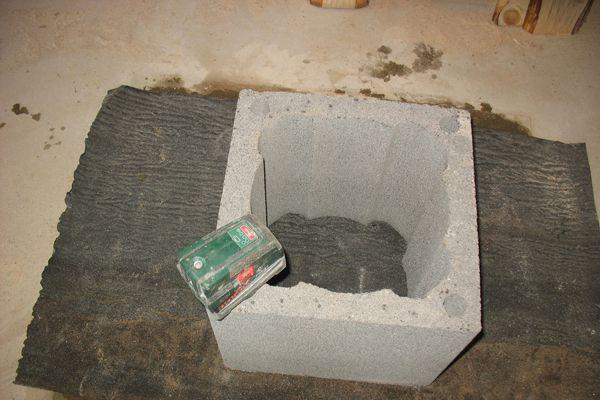
Fitting and alignment of the first block
4. After fitting and leveling, the block is placed on roofing material on the same cement-sand mortar and finally leveled.
Installation of the first block on the solution
5. For greater stability, cobblestones, crushed stone or broken bricks are laid inside the block and poured with cement-sand mortar or concrete.
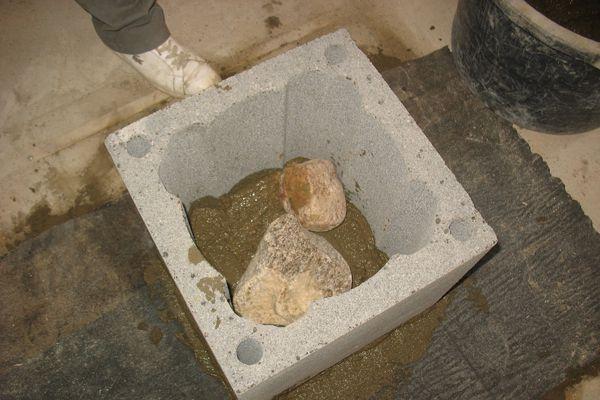
The base block is filled with stones and concrete
6. All the following blocks are fastened together using a special solution that is resistant to high temperatures - it is purchased together with a chimney kit. The solution is applied on a metal template with a spatula.
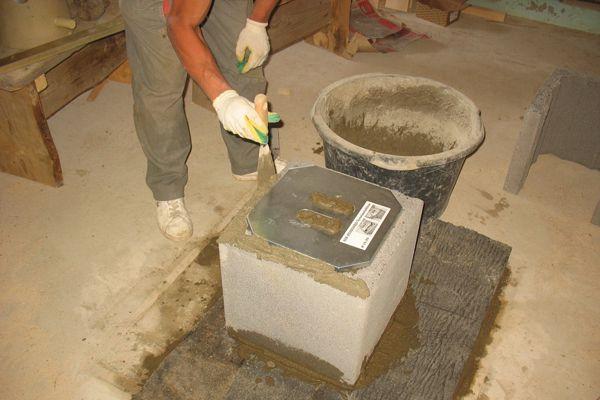
The heat-resistant solution is applied to the block according to the template
7. To install some elements - tees, revisions - in blocks, you need to make a drink. It is performed by a grinder with a diamond-coated disc according to a ready-made template included in the kit.
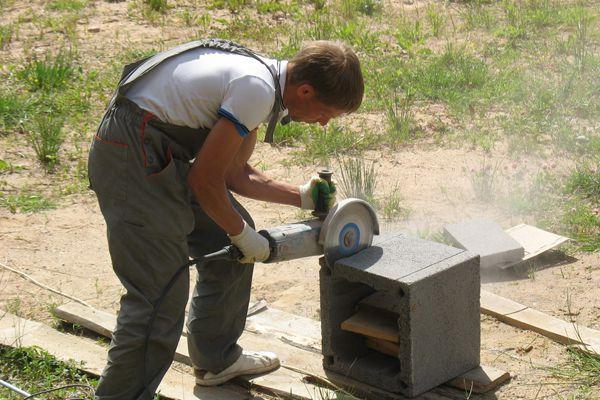
Cuts in blocks are made by a grinder with a diamond wheel
8. The first element of the pipe is a condensate trap with a drain, it is installed in a block with a sawn hole for the ventilation door so that the drain faces the notch in the block.

Installing a condensate trap
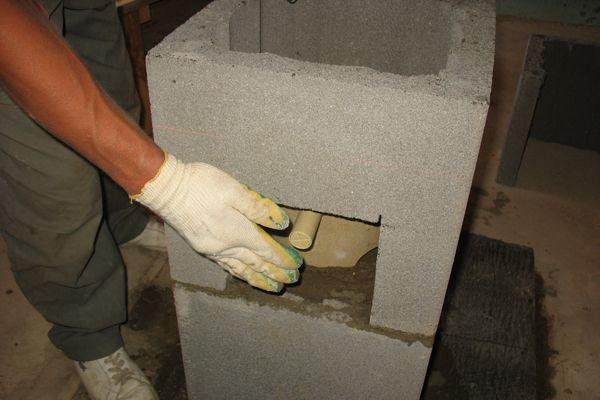
A tube for draining condensate is brought out to the drank in the block
9. A heat insulator is laid around the first pipe element - basalt wool mats.
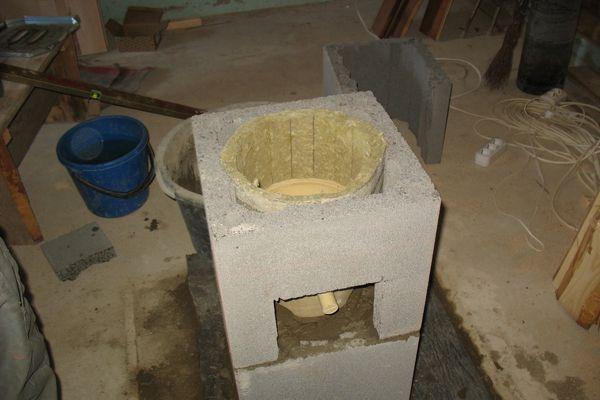
Insulation is laid around ceramic pipes, filling the gaps
ten.The next pipe element is placed on the condensate collector, connecting the elements to a special sealant.
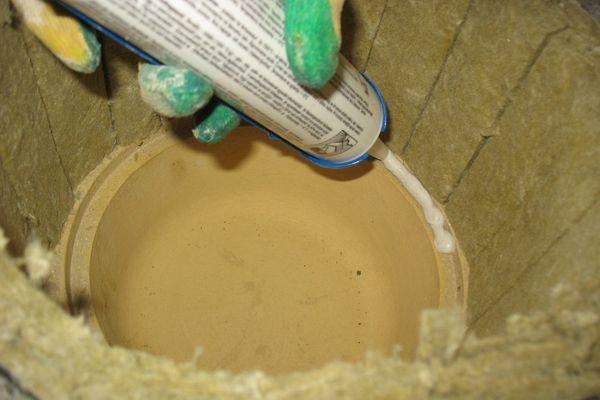
Pipe connections are made with heat-resistant sealant
11. Continue assembling the chimney. The blocks are connected to the blocks with a heat-resistant solution, pipes - with a sealant. At the same time, do not forget to combine revision elements and tees with cuts in blocks, and wrap pipes with heat-insulating mats.
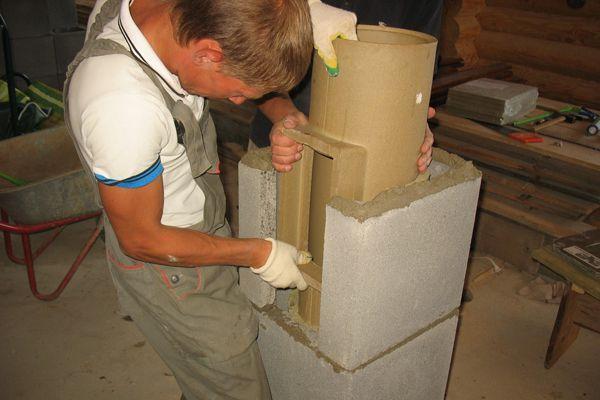
Installation of a pipe with a branch for an inspection door
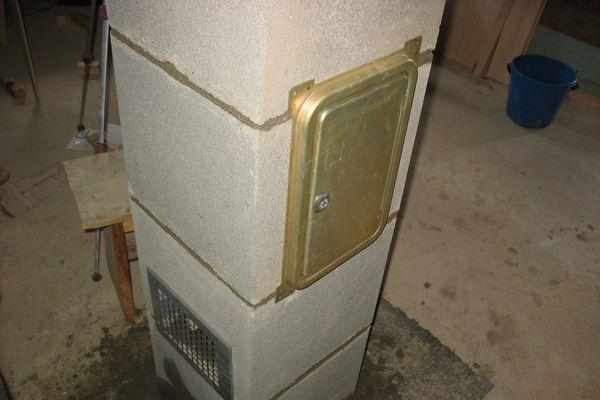
The inspection door is completely made of metal and is included in the scope of delivery
12. The passage of the chimney through the ceiling blocks are fixed to the rafters or beams using metal brackets, thereby increasing the stability of the chimney.
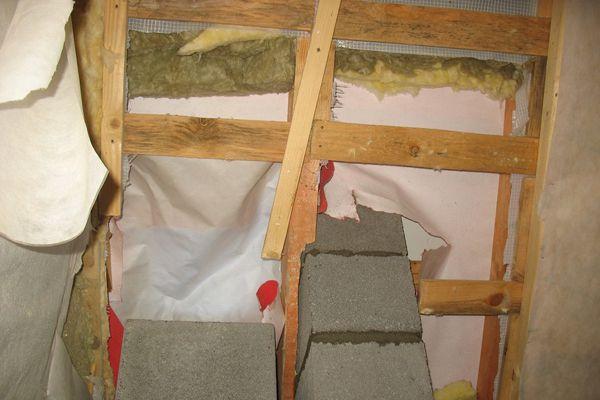
Pipe passage through ceilings
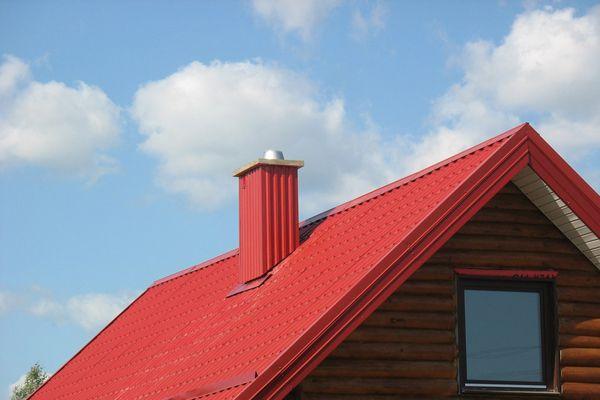
13. When the chimney exits through the roof, they try to make a minimum gap between the block and the roofing. Abutment strips are installed and the pipe is sewn up with a suitable material, in this case, profiled metal.
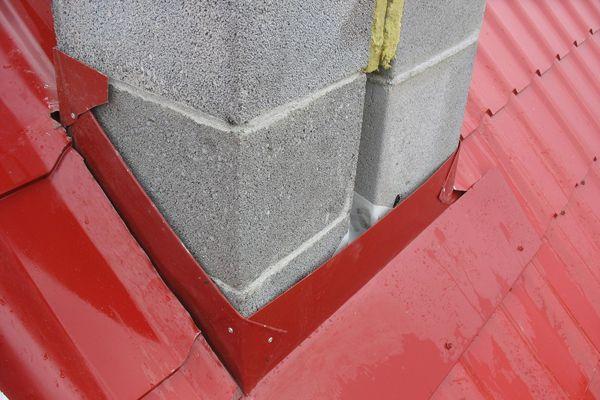
Abutment strips protect the pipe from leaks
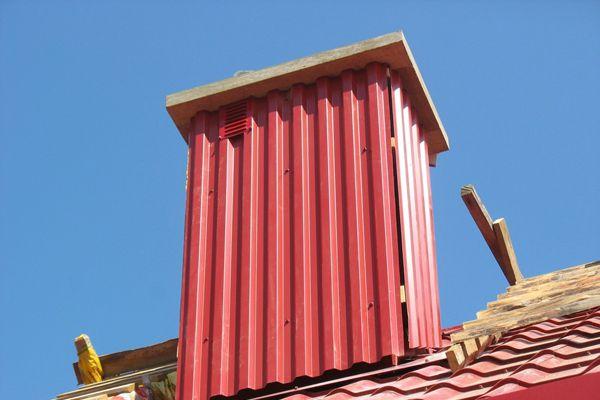
The pipe can be sewn up with metal
14. To prevent moisture from entering the chimney shell, it is covered with a concrete slab with a hole for the pipe itself. If it is not possible to pick up a finished slab, you can make a formwork with reinforcement and pour it with concrete 5-10 cm thick.
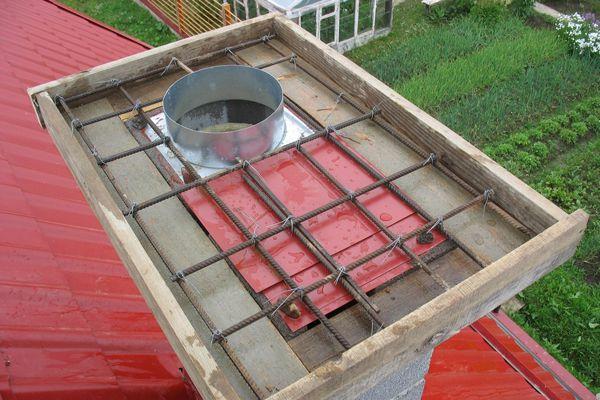
Concrete slab formwork - pipe overlap
15. A cone-shaped head is put on top of the pipe, it is also included in the delivery.
Rain cap
Video - installation of a ceramic sandwich chimney
A properly installed chimney is not afraid of moisture or overheating, it successfully copes with the task of removing smoke from a stove, fireplace or boiler. timely chimney cleaning and maintenance will extend its service life, therefore, before assembling the sandwich chimney, carefully consider the location of all revision elements, and the operation of your chimney will become convenient and safe.